|
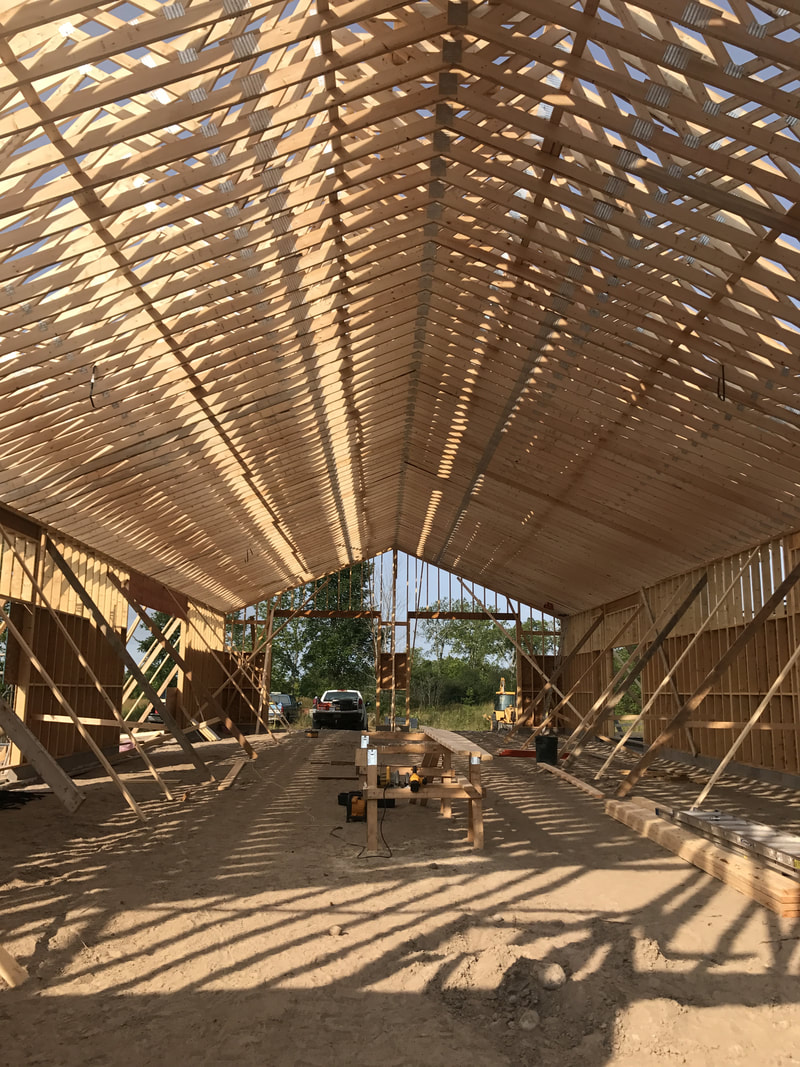
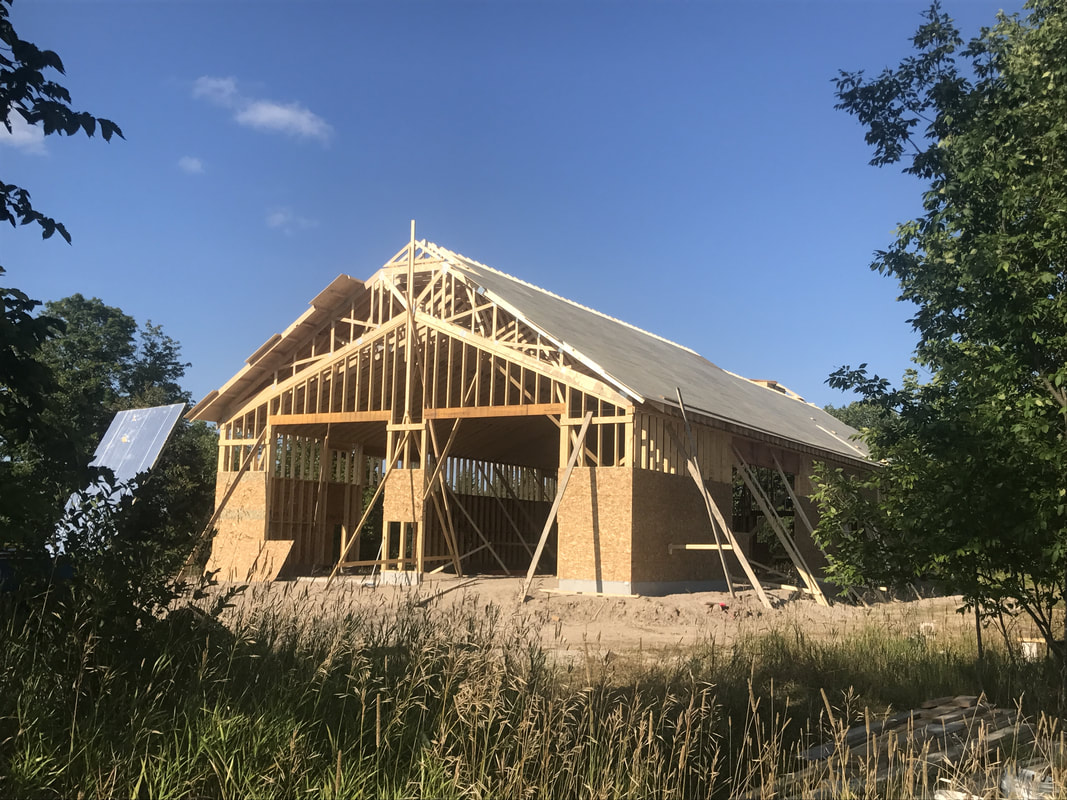
As a designer, I find framing is one of the most impressive parts of construction to watch happening. The building took shape quickly, less than a week and the roof was on. Walls and bracing are up on the first day, ready for trusses to arrive in the morning. I decided for ease of construction to do balloon framing. Balloon framing means the exterior walls were framed full height uninterrupted by the 2nd floor framing, as contrasted by platform framing, in which each floor is framed separately. I did this because it allowed us to get a roof on prior to pouring our concrete floor and I needed the concrete floor to support the 2nd floor framing. We chose scissor trusses for our roof framing. Trusses are a great way to span large distances without support by posts & beams. And scissor trusses gave us a vaulted ceiling inside. Trusses cannot exceed 12' in height, they will not fit on the truck for shipping. When they do, the design includes something called a piggy back or a multi-piece truss. You can see our trusses required a small triangular piece at the peak.
0 Comments
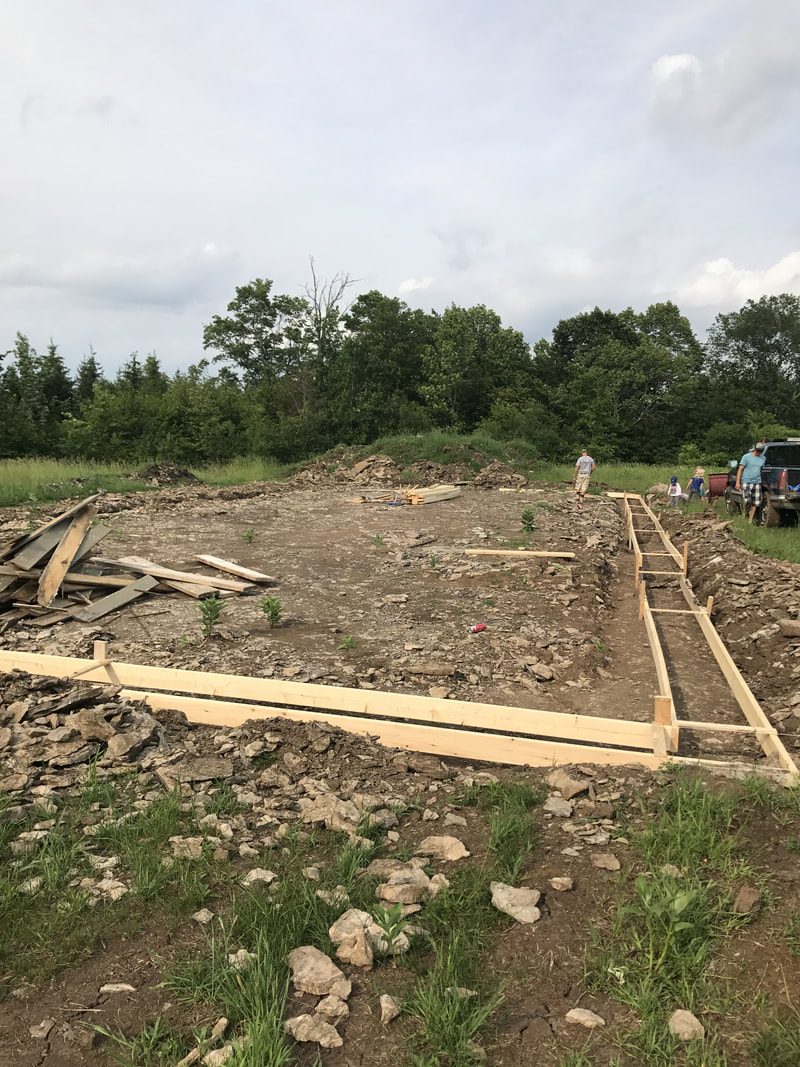
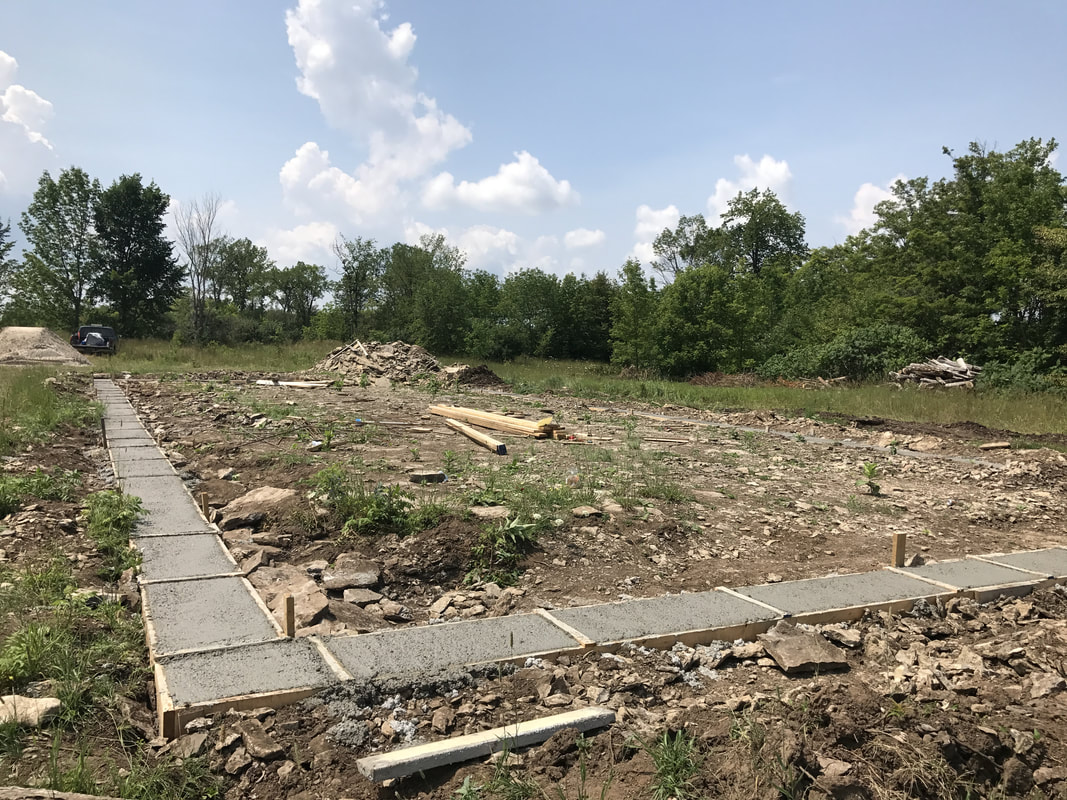
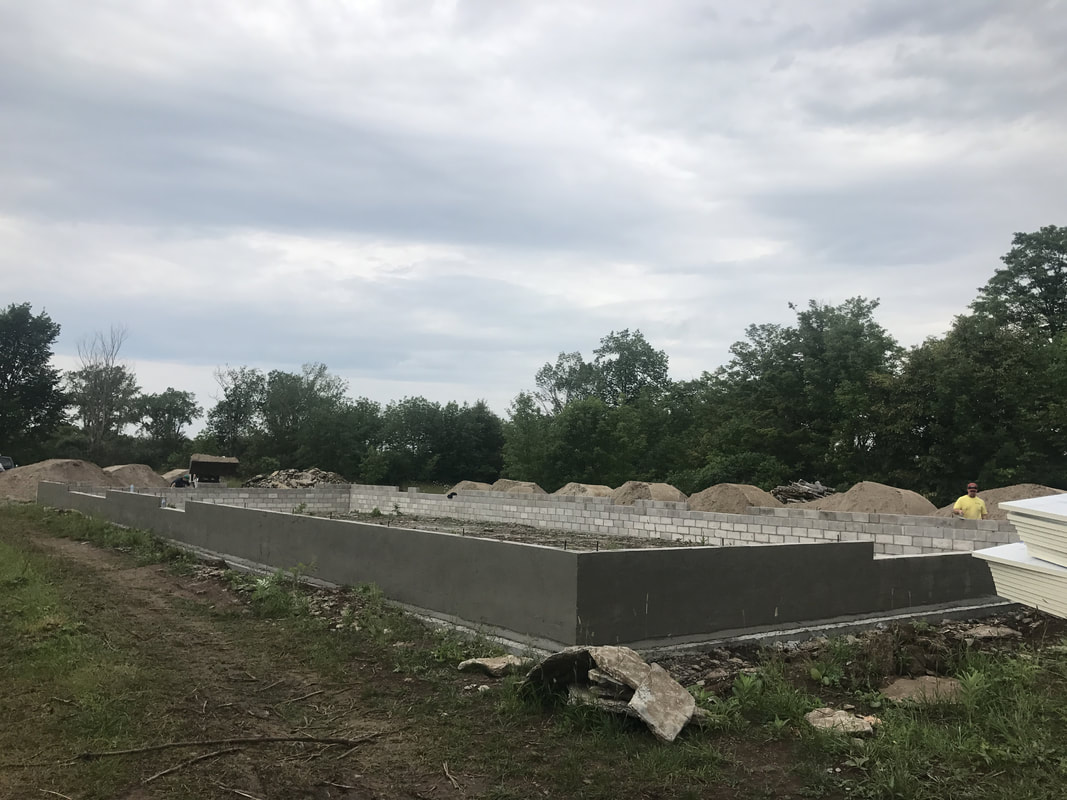
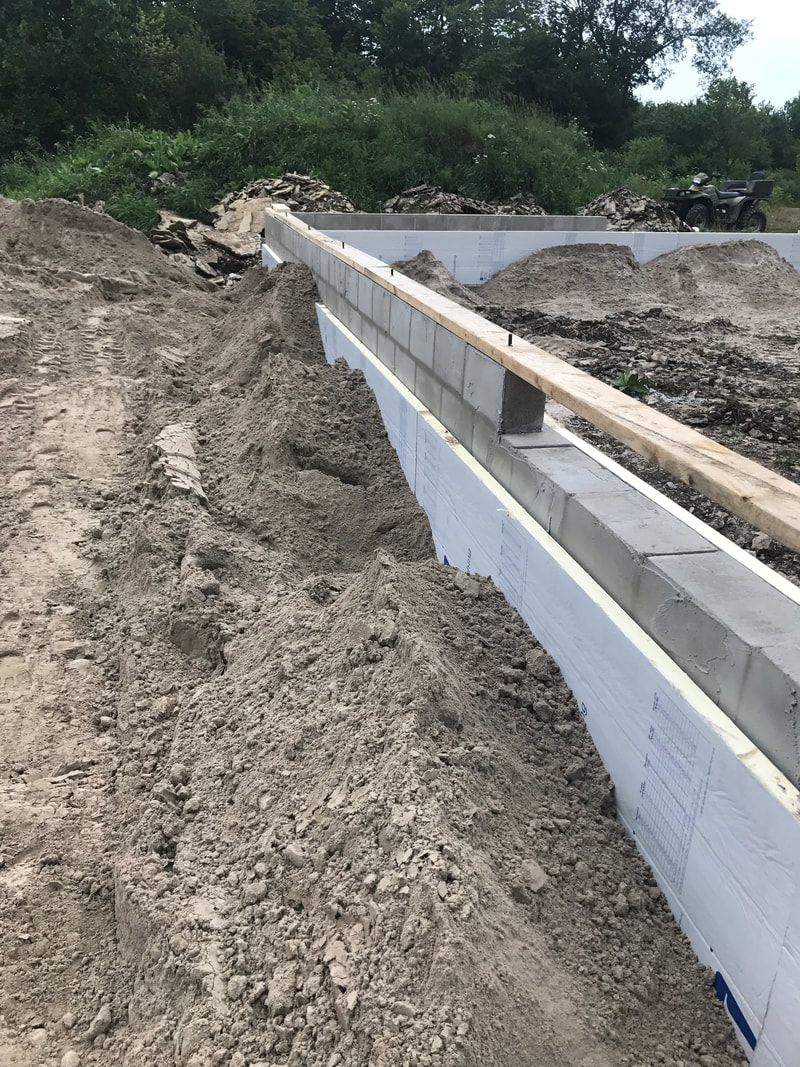
When starting to plan a big project like this, it can feel like forever before anything significant really happens. So when the footings are being formed and the concrete starts pouring it can be pretty exciting watching things get started. We didn't have to dig down to far! Under no more than 12" of topsoil was solid limestone bedrock. This is something we anticipated after previously building in this area. Typically when you dig here in Ontario you are required to go 4'-0", in order to protect your footings from frost. If you hit rock, you pour & pin directly on the rock because frost won't heave rock the way it does soil. After a lot of hard work, by my husband and his masonry crew, the footings are poured! Next comes another job for my husband, the block foundation! We lined both the interior and exterior face of the block foundation with 2" of rigid insulation and then backfilled both sides with sand. We are planning a concrete floor with radiant heat and want to keep frost from getting under the slab, but also minimize heat loss.
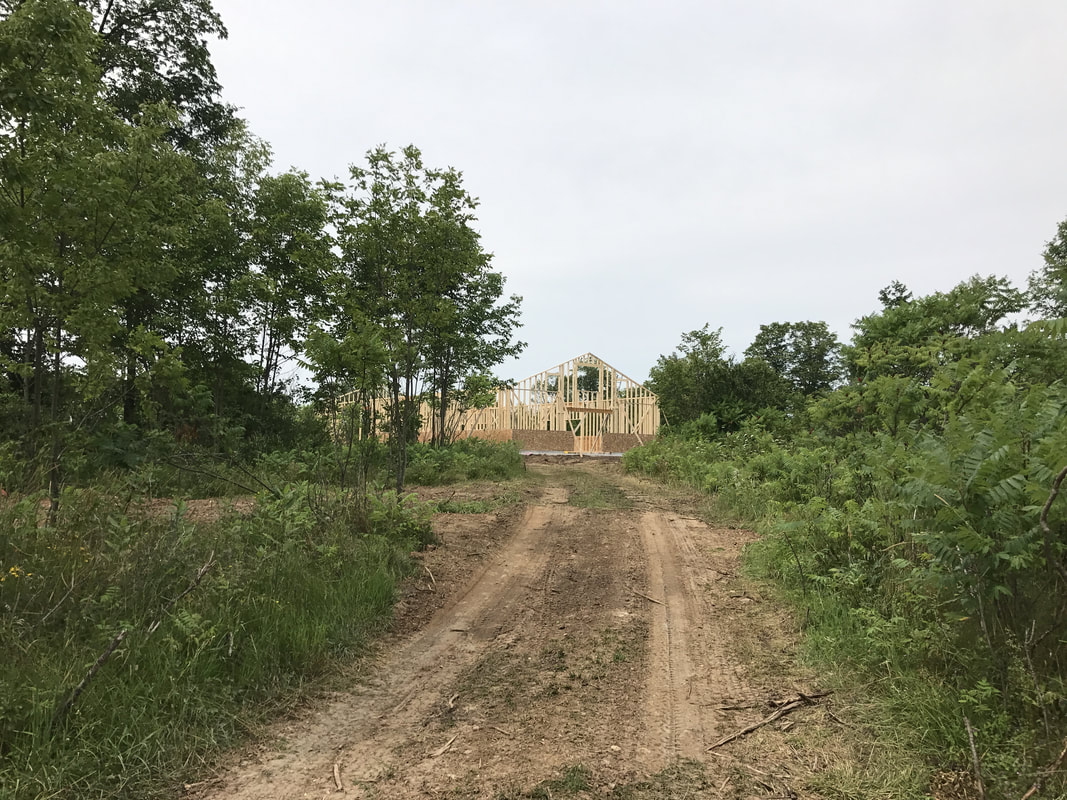
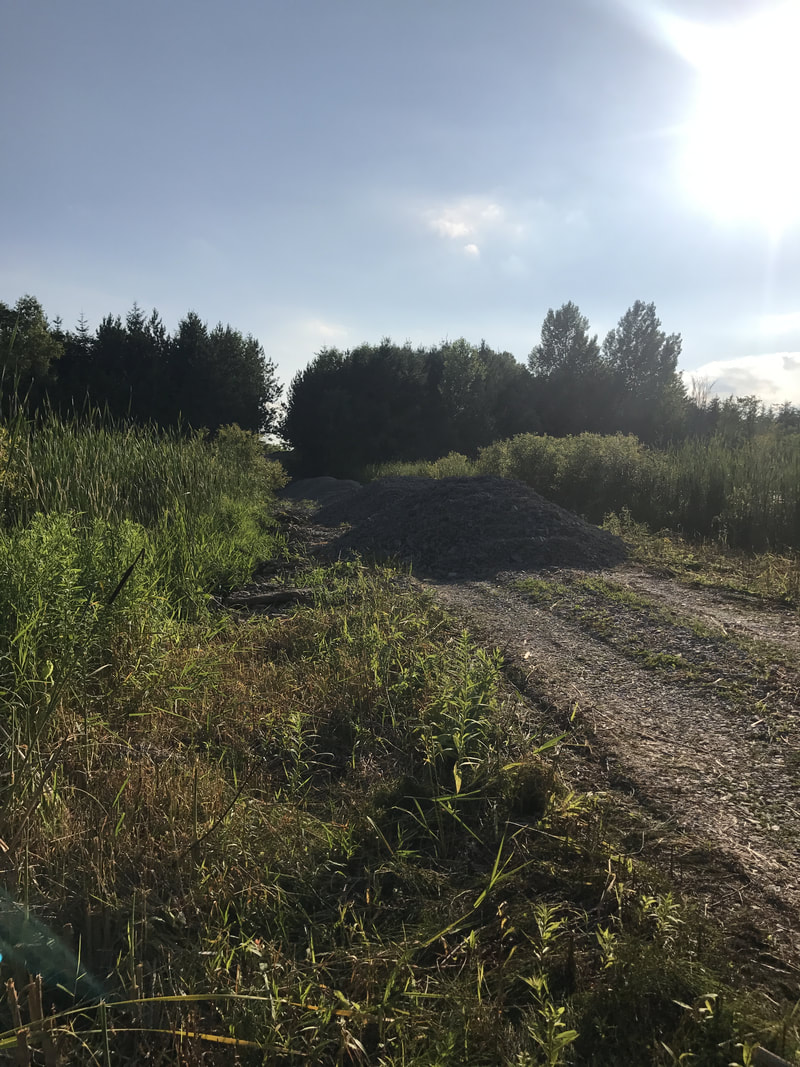
Before we were able to start construction we needed to build a driveway to get to the site. Here is a photo showing just a few of the many loads of gravel.
Applying for a building permit requires gathering all the pieces to the puzzle as well as filling out the actual application form. These pieces include but are not limited to construction drawings, truss design, HVAC design, septic design, entrance permit, conservation authority approvals etc.
The construction drawings was a pretty easy one for me, as this is exactly what I do. Next was the truss design & layout, I often work with a truss designer to design engineered roof trusses. Collaborating with the truss designer is critical in getting our designs to coordinate for construction but also needing the layout to apply for building permit. Depending on the complexity of your HVAC design, you may want to involve the designer before finalizing your plans. In my case this was critical since we wanted primarily to heat with a radiant in-floor system fueled by an indoor wood boiler. I needed to work with my HVAC designer to determine the size of the system, so I could size my service room accordingly, as well as determining the need for a back-up heat source. So when it came to applying for the building permit, I had an HVAC design already in-hand ready to go. The septic system design was something I had in the works, as soon as I was able to give my designer a building size and fixture count (ie. number of sinks, toilets etc.) I worked with a septic designer who was able to obtain my health unit permit on my behalf, checking off an important item on the list. An entrance permit is something most people building on vacant pieces of land need, but in our case, there was an existing driveway leading onto the property that we planned to use. Conservation authority approvals was another easy one for us, as no conservation authority has jurisdiction in our area. This is not always the case and can add additional time and fees the projects. Your local municipality can help you to determine if you require these types of additional permits and approvals, as well as any other additional information necessary to obtain a building permit. With all the pieces in-hand, I was able to submit my application. The building department then had 10 business days to do a plans review and issue the permit. Once issued, we paid the permit fees as well as the development charges to both the township and county. Be prepared, if you're planning a new construction project, development charges can take a surprisingly large bite out of your budget. We are now very excited to begin construction! This is something a lot of my clients can relate with, having to apply for a zone amendment. A zone amendment is the process of changing the zoning by-law to suit your proposed development. Each municipality has a set of by-laws that dictate types of land uses and regulates things like setbacks, building height, lot coverage, parking etc. When your plan does not comply with local by-laws you can, for a fee, ask for relief. In our case, there were a few things we were asking for, so we wrapped it all up into one application.
The type of building we are proposing falls under the category of "home industry", this compiles, but a "home industry" is an assesory to a residential building and without an existing residential building, we had to ask for special zoning to build this building ahead of our house. Additionally we had to ask for increased square footage and to allow our building to be located in the front yard of our future home. The last one may sound strange but the municipality does not want small business owners building shops in front of their homes in residential areas, which makes sense, but in our case our shop will not be seen from the road, so this was easily supportable. While working on the application there were a few things we had to do. First discuss our plan and application with the townships planning technician to ensure staff support, this is a very important step because there is no sense wasting time and money on an application if its not supportable by the building and planning department. Next get the plan drawn out on a site plan, this is a requirement of the application but will also give you the necessary information to fill out the application. Often for my clients with small or lakefront properties this means having a survey done. In my case I was able to create a site plan from a partial survey and information obtained from the Peterborough County GIS mapping system. Next, talk to your neighbours about your application, basically a heads up and "do you have any issues with my proposal"? Most of the time this is not an issue but they will all get letters in the mail, giving them the opportunity to attend the council meeting and object. We reached out to our immediate neighbours and everyone was very supportive. After submitting the application, we received a letter stating the date and time of the council meeting where our application would be presented. It went just as expected, no issues, just a confirmation we would eventually build a house to accompany our new accessory building. After a 20 day appeal period had passed, we had our new zoning approved and could proceed with our building permit application! So on to the next step! |
The Shop
At MaryAnne Noffke Design & Drafting we are just like you! We have a project of our own and we would like to share our experience with you. Check back for regular updates to see how things are coming along! Archives
January 2018
Categories |

 RSS Feed